Table of contents
Related Articles
- Custom Field Library
- User Management
- Lease and service contracts management
- Advanced Search
- List Customization
Introduction
The Field Configuration in Octopus is available to allow administrators to create custom fields.
These fields are usually used in forms to manage Incidents/SRs, but it is also possible to create custom fields to add the Users and Service contracts modules.
In this article, we cover modules outside of Incidents/SRs. For those who want to know how to configure fields in a form, see the Custom Field Library article.
 Warning
- To access the custom field library you need the permission:
- Administer Octopus
- This type of configuration involves risks, particularly if Octopus is already in production in your environment.
- Configuration should be done by an administrator with in dept knowledge of Octopus. In addition, we recommend that the operations in the Field Configuration be done outside of working hours.
- The System fields tab is also available in the configuration window, but should only be used by administrators trained by Octopus.
- It is suggested to speak to an Octopus Specialist before making any modifications to the system fields, so as not to cause any impact to operations.
- Custom fields are configurable by team.
Field Configuration
Custom fields can be added to the Users and Sercice contracts modules and they will be visible from the Additional information tab of each module.
The supported field types are:
- Text
- Date
- Date and time
- Check box
- Combo box
The following can be done from the field configuration:
- See the list of available fields
- Add fields
- Modify fields
- Delete fields
- Deactivate fields
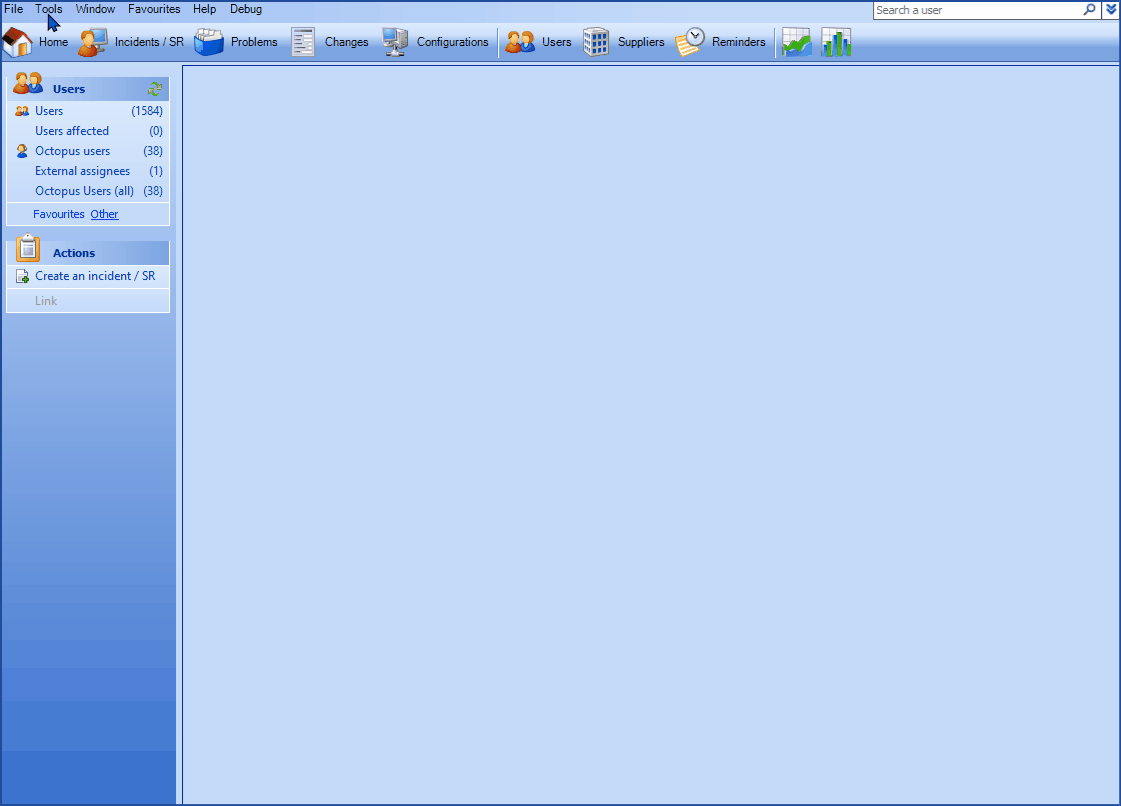
How to Access the Field Configuration
To access the field configuration, the Octopus user must have the permission to Administer Octopus.
The field configuration can be found in the Tools > Configure fields menu.
Then you need to:
- Select the module to which you want to add fields.
- Go onto the Custom fields tab.
Create a New Field
To create a new field in the Users or Service contracts module, you first need to access the field library.
During the creation the mandatory fields are:
- Label
- In a bilingual environment, we recommend to add the name of the second language during the creation.
- Type
- As the type cannot be changed after the creation is done, it is important to make the right selection from the start.
Do the following to create a new field:
- Go into the field configuration from the Tools > Configure fields - Custom fields tab of the desired module.
- Use the Add a field button.

- Enter the name if the Label field
- Write the name if the second language if needed.
- Select the field Type.
- The type cannot be modified once the field is created.
- Add Instructions if required.
- Write the instructions in the second language if needed.
When adding instructions to a field, do not use formatting, since Octopus only shows the field in plain text, it would not appear.
- Indicate the Default value if required.
If a Default value is added, it will be visible only when creating a new user or new service contract, the existing elements will not have it.
-
A field in the Users or Service contracts module cannot be Required.
-
Even if the option is checked in the configuration, it will be ignored.
-
-
The field is Active by default.
If the field is not active, it will be in the list of inactive elements for columns and search criteria.
-
Indicate if the change history will be kept
-
Selected by default.
-
Will not keep track in the History tab if it is deactivated.
-
-
Close the field window with the OK button at the bottom of the window.
-
Proceed to other modifications or field creation as needed.
-
To complete the field creation and any other modifications, click OK at the bottom of the window.
-
Octopus will restart and all active fields will be visible in the module they belong to as well as in columns and search criteria.
-
Note that if you do Cancel or close the window the X at the top, Octopus will show the following message: The data has been changed. Do you want to save these changes?
-
Once a field is saved, the type cannot be changed.
Where Can You See the Custom Fields in Octopus?
The custom fields in the Users and Service contracts module are visible in the Additional information tab.
- The Additional information tab will not be visible if there are no custom fields for the module.
- The Instructions column is not visible by default, it needs to be added.
Delete a Field from the Library
To be able to delete a field from the library it must not have been used.
It will therefore be rare that a field can be deleted.
Follow the steps below to permanently remove a field from the library:
- From the library open the field by clicking on its name.
- Select the Delete button.

- Octopus will show a message asking to confirm, click Yes.
- In the event that you wish to delete a field that has already been used, an error message appears on the screen stating that it must be deactivated.
It will still be part of the library, but with inactive elements.
Search in the Library
By default, the list of fields visible in the library are the active fields to prevent the library from being polluted with fields that are no longer used.
The search will only be done in the active fields, unless the Show inactive fields option has been checked on the right site of the search window.
Usage of the Data Collected in Custom Fields
As with the custom fields in forms, the ones from Users and Service Contracts can be used in different places:
- Directly in the user or service contract record in the Additionnal information tab.
- Note that as elsewhere in Octopus, a right-click in this tab allows you to copy the information or send it to Excel.
- As mentioned earlier in this article, you can use these fields as search criteria in advanced search.
- The fields will be in the Custom fields node of the users or service contracts modules.
- These fields can also be added as columns in their respective module
-
The fields will be in the Custom fields node of the users or service contracts modules.
-
For more information, see the Advanced Search and List Customization articles.
In the Users module, there is another option that adds a field to the Custom fields node.
The field is named Open activities in a window and it is visible by default, but it is not found in the custom field library.

Thank you, your message has been sent.