Table of contents
Overview
This article explains how to import sites in Octopus.
References
- Import Users
- Import CIs
- XML Configuration File
- Back to main page for DataImporter
- Back to the Import Source Specification List
 The reference template files compressed files (.xlsx et .xml) to prepare imports are included in the Sites.zip file.
Required Fields
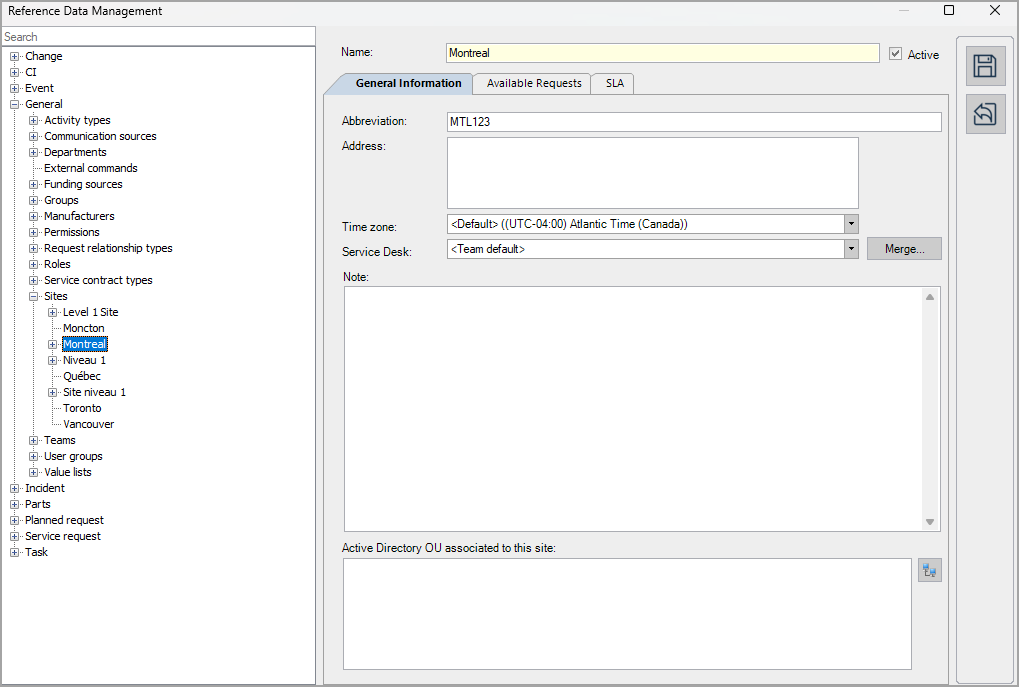
- Name - Text (200)
- Represents the site name.
- Short Name - Text (30)
- Represents the site name abbreviation.
Optional Fields
- ParentSite – Text (200)
- Identifies the parent site to which it belongs, in the case of a sub-site
- Address - Text (500)
- Represents the site address.
- TimeZone - Text
- Represents the name of the site's time zone.
- The value supplied must correspond to a time zone present in the Octopus database.
- If no value is assigned, the parent value is used by default.
- ServiceCenter - Text
- Represents the site's service center.
- The name supplied must correspond to a group name present in the Octopus database.
- Groups can be accessed from the Tools > Reference data management > General > Groups menu.
-
If no value is assigned, the parent value is used by default.
- Note - Text
- Free text to include a note for the site.
- ActiveDirectoryGroups - Texte (2000)
- Free text used to assign one or more Active Directory groups to the site.
Configuration File (XML)
The indication of the source id done by indicating the Site value in the <Content> tag.
<?xml version="1.0" encoding="utf-8" ?>
<Sources>
<Source Name="ImportationSite">
<ConnectionString>Provider=Microsoft.ACE.OLEDB.12.0;Data Source=C:\Import\Sites.xlsx;Extended Properties="Excel 12.0 Xml;HDR=YES";</ConnectionString>
<ViewName>[Import Sites$]</ViewName>
<Content>Site</Content>

      <SiteSplitStrategy>ByPipe</SiteSplitStrategy>
      <EmptyValueHandling>NoChange</EmptyValueHandling>
</Source>
</Sources>
To explain the tags used in all types and to find out more about the types of files, please refer to the XML Configuration File article.
Information on Additional Tags
To import sites, the XML file can contain 2 additional tags. These tags are not mandatory and if they are not specified, the default values will be used.
Data separator management
When importing, a separator must indicate the delimitation of the data.
The two possible choices are
- Vertical bar ( | ) (Pipe)
- Comma ( , )
Permitted values for the SiteSplitStrategy tag:
- ByPipe (Default value)
- ByComma
To use this tag, add the following line to the XML file:
<SiteSplitStrategy>VALEUR</SiteSplitStrategy>
Management of Empty Fields
DataImporter can help clean the data contained in Octopus when empty fields are encountered. If this tag is not present, the NoChange default value will be used.
If you want to use this tag as part of an import, it is important that your data source only contains columns to act on. DataImporter will systematically try to clean all these columns. You can clean all fields except:
- Required fields
- Fields that have been configured as mandatory in the Octopus database
- Fields that accept only specific values, for example boolean type fields (yes/no).
Permitted values for the EmptyValueHandling tag:
- Clear: The existing value in Octopus will be cleared and the field will be emptied.
- NoChange (Default Value): Fields that are empty in the data source being imported will be ignored and the existing values in Octopus will be kept.
To use this tag, add the following line to the XML file:
<EmptyValueHandling>VALEUR</EmptyValueHandling>
Importing Multiple Levels
In order to import multiple levels, you need to specify the last level in the Name column and all parents levels into the ParentSite column.
To import the following structure: Parent1 - Parent2 - Child you need to use the following values:
- Name : Child
- ShortName : ChildEnfant
- ParentSite : Parent1 | Parent2
The parent site Parent1 and Parent2 will be automatically created.
It is not possible to change the structure of the site using DataImporter. To change the ParentSite of a Site you will need to use the Windows client and manually move them (Drag & Drop).
Thank you, your message has been sent.