Table of contents
Related Articles
Introduction
Managing departments is an important aspect of daily Octopus use. Departments are found in requests, the user files, the CI files; in other words, they are everywhere and critical to the use of Octopus.
We find in this article the explanation of the different fields and terms used to represent each level of departments and how to find the information of these through the application.
Department Configuration
This section is for Octopus administrators with access to Tools > Reference data management. Note that in an environment with multiple Octopus teams, people from the IT department will normally be the ones that will have the rights to modify the departmental structure. The Modify common team data permission is required for these modifications.
It's important to note that if synchronizations or imports are made with ADSIReader or DataImporter, new departments will be created automatically if Octopus does not find the same name unless the synchronization is based on the department number.
In the Reference Data Management
With time, departments in a company can change. To see, add or modify Octopus departments, go to Tools > Reference data management > General > Departments.
We can see:
- The department name.
- If it is active or not.
- The department number
- This field is optional. It can be used to synchronize the departments from an external source using DataImporter.
- The department can then be synchronized using the number to update the name of the department if it changes at the source.
- The department manager.
- This field is optional. It is used for automated hierarchical type approvals.
- A note for the department.
- This field is optional. It can be used to appear in a list or in search criteria.
- The Merge button.
- If a department has been created by mistake or if modifications are done in the company department structure, Octopus allows merging a department into another.
Creation and Update of a Department
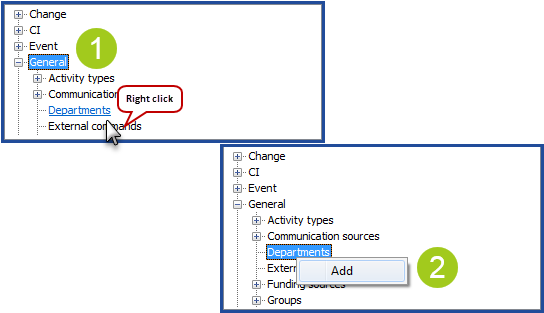
- Place the cursor where the department or sub-department needs to be added.
- Right click and click on Add.
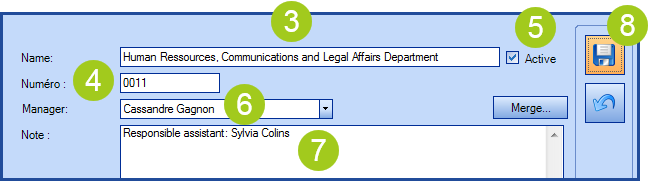
- Write the department name.
- The name can be modified later.
- To modify click directly in the field.
- Add a department number.
- This field is optional.
-
The number can be added or modified later.
-
To modify click directly in the field.
- Activate or deactivate the department.
- By default, the department will be active at the creation.
- Add a manager.
-
This field is optional.
-
The manager name can be added or modified later.
-
To modify click directly in the field.
-
- Add a note.
-
This field is optional.
-
The note can be added or modified later.
-
To modify click directly in the field.
-
- Save at the top left.
Take note that the next three actions should not be done lightly, as they involve risks. In addition, if there is more than one team in Octopus, these actions affect them all.
The amount of data to merge or move determines how long the action will take and could significantly slow down Octopus. We recommend doing this type of action outside normal business hours.
Merge a Department
If there are duplicate departments, they can be merged into one. But, if the duplication problem comes from an automated synchronization, the situation must first be corrected at the source.
Before proceeding, note that this action cannot be reversed!
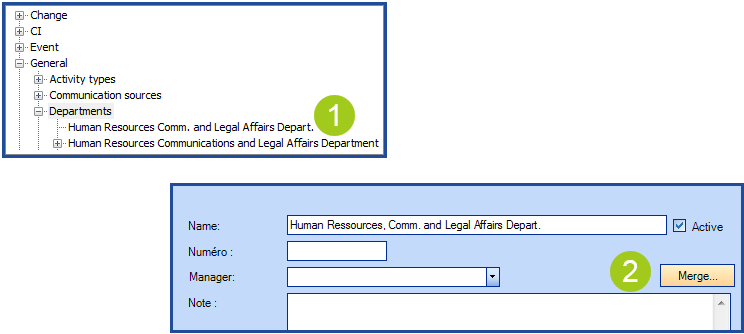
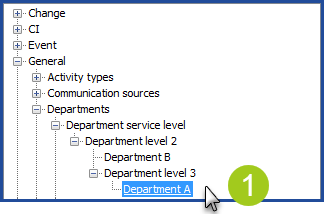
- Select the department that will be absorbed into another.
- Note that merging can only be done from the last department level.
- Click on Merge.
-
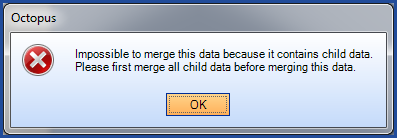
If you try to merge a department that has another bellow it, a warning message will appear.
-
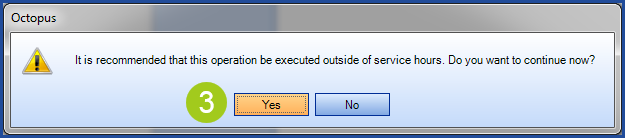
- A message advising you that this should be performed during off hours will appear.
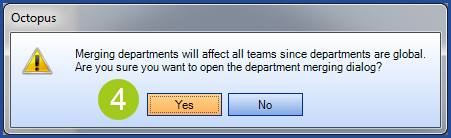
- A confirmation message advising that this action affects all teams in Octopus will appear.
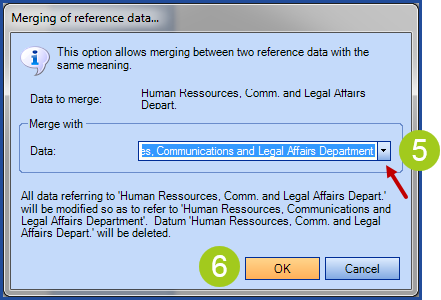
- Select the department to merge into.
- Confirm with OK.
If you try to merge a department that has one or more sub-departments, this warning message will appear.
Move a Department in the Structure
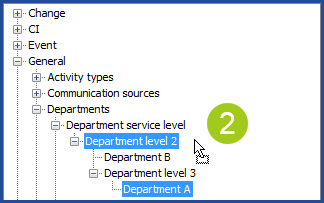
- Select the department and slide it where it needs to be in the structure.
- Release the mouse to complete the move.
-
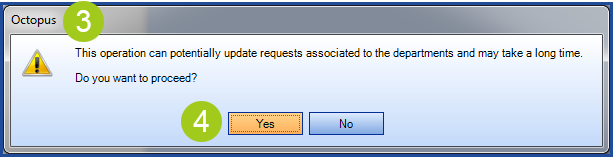
A message will appear to ask for confirmation and advise that this affects all teams and may take a while to complete.
-
Click Yes to confirm.
Delete a Department
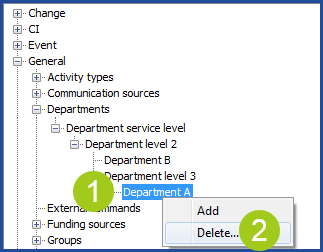
- Select the department to delete.
- Right click and select Delete.
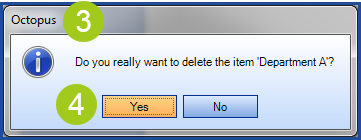
- A message will ask to confirm.
- Click Yes to confirm.
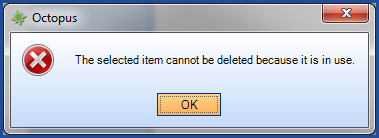
An error message will appear on the screen if you try to delete a department that is used in a CI, a user file or other.
It is possible to deactivate the department in this case.
Through ADSIReader synchronization
It is possible to import departments and sub-departments from AD. For more information on how this works, consult the ADSIReader - Integration to Active Directory article.
Through DataImporter synchronization
DataImporter allows importing departments and sub-departments. For more information, consult the DataImporter - Import departments article.
Use of Departments in Octopus
The Actual Levels of the Departments
During the configuration of Octopus, the department levels required to properly support the structure of the departmental hierarchy can be added.
Here are the logical department levels available in Octopus:
- Root Department
- Represents the first department from which your department tree begins. This is the highest possible department of the structure.
- Parent Department
- From a target department, represents the levels above.
- Sub-department
- From a target department, represents all sub-levels to get to the target department, including this one, but excluding the root department.
- Department
- Represents the department in its structure of your element (CI, user, request, etc.), including all its levels, as the root, parents, and sub-departments.
A context of how it works
In this example, we will see the departments and sub-departments that will represent the main department, service, and sub-services in a case where a customer wants to see a list of the users that are part of the Project Management Office.
For this, one of the main departments (root department) will be the Finance and IT Department, followed by a sub-department (second level) of the IT Department, that in turn will have the Service Center and Project Management Office under it (third level).
Finance and IT Department -> IT Department -> Service Center or Project Management Office

Following the pre-established logic, a user of the Project Management Office will have:
- As a Root Department: Finance and IT Department
- As a Sub-department: IT Department, Project Management Office
- As a Parent Department: Finance and IT Department, IT Department
Columns and main search fields
Here are the 4 possible ways Octopus will show data in a list corresponding to the information on departments:
- To show only the root department (in this case, Finance and IT Department):
- Add the Root Department column.
- To show a column with the parent departments of a target department (in this case, Finance and IT Department, IT Department):
- Add the Parent Department column.
- To show a column with the target department and the departments above, excluding the root department:
- Add the Sub-department column.
- To show all levels of departments, including the root and all sub-departments:
- Add the Department column.
The Full Name field will show the same information as the Department field. As they both give the same information, select the one that is more convenient.
Additional department information fields
It is also possible to use the department additional information that was added in the reference data management:
-
To show the department number:
-
Add the Number field.
-
- To show the department manager:
- Add the Manager field.
- To show only the last level of the department where you are:
- Add the Name field.
Even if the explications above are described for columns, the same logic also applies to advance searches.
Thank you, your message has been sent.