Table of contents
Related Articles
Introduction
Creating ad-hoc reports with Octopus can be done in a few steps. You start by extracting the data you want in your report and then you select/customize a print format.
Step 1: Make an advanced search
- Go to any Octopus module
- Open the "advanced search" window by clicking the double down arrow icon (at the top right of the screen)
- Many criteria can be used; consult the different tabs (General, Classification, Date, CI, Problem) if any
Example: To get a list of requests submitted by the HR department in February, click the Classification tab and select "HR" in the Department field. Then click the Date tab and select a range from Feb 1st to Feb 28th.
- Click the Search button to show the records matching these criteria.
Step 2: Add Columns Based on the Report
There are many reasons for making reports and Octopus allows to add a great number of colums to gather the information you need. Here are some columns that could be useful.
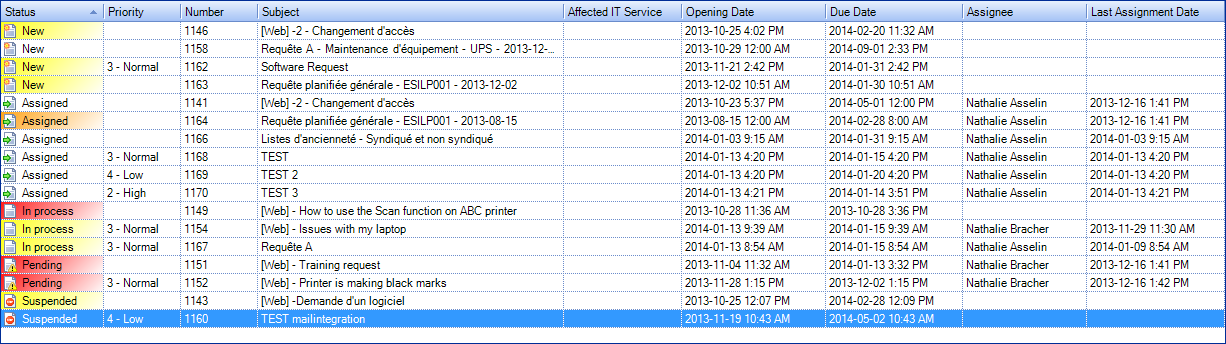
- Linked to Open Requests
- Status
- Priority
- Number
- Subject
- Affected IT Service
- Opening Date
- Due Date
- Assignee
- Last Assignment Date
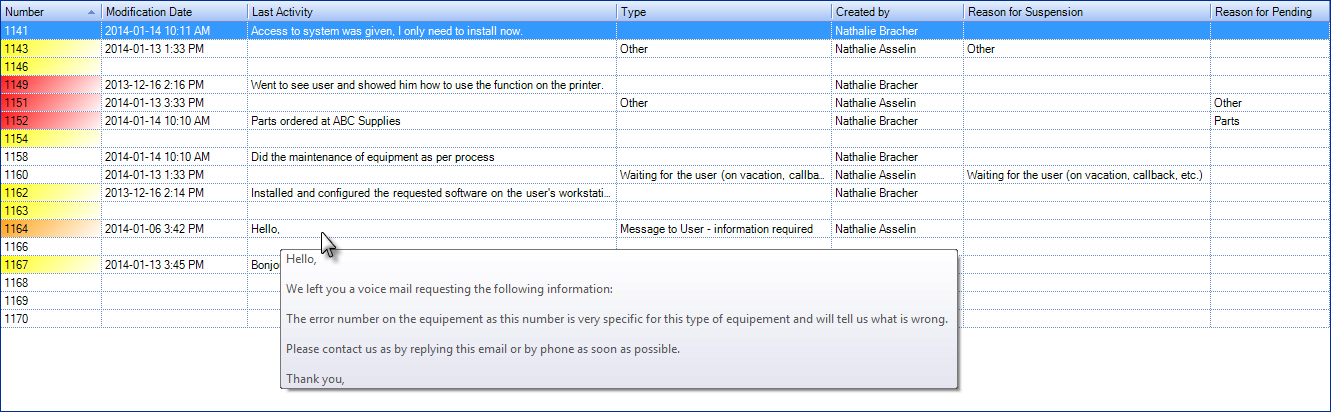
- Linked to the Last Activity
- Number
- Modification Date
- Last Activity
- Type
- Created by
- Reason for Suspension
- Reason for Pending
- Linked to Service Level Agreement(SLA)
- SLA
- Opening Date
- Due Date
- Custom Due Date
- Resolution Date
- Resolution Delay
- Resolution Delay (Business Days)
- Resolution Delay (Without Suspension)
- Resolution Delay (Without Suspension, Business Days)
- Resolved Within SLA

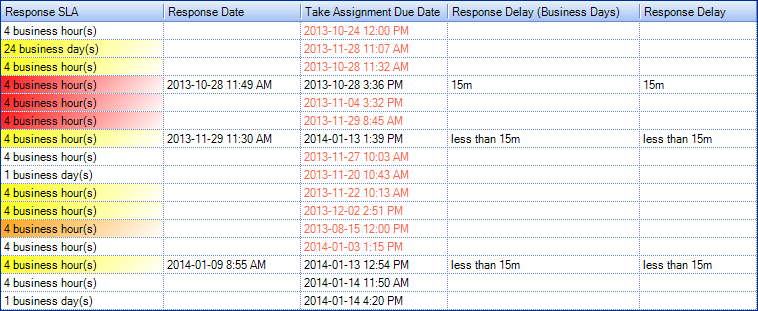
- Linked to Service Level Agreement Response Time (SLA)
- Response SLA
- Response Date
- Take Assignment Due Date
- Response Delay (Business Days)
- Response Delay
- Linked to the User
- Full Name
- Employee Number
- AD: Last Logon Date
- Department
- Language
- Is Affected by an Open Incident
- Supervisor
- Costs Center
- Delegates Approval To

- Linked to trend data
- Day
- Hour
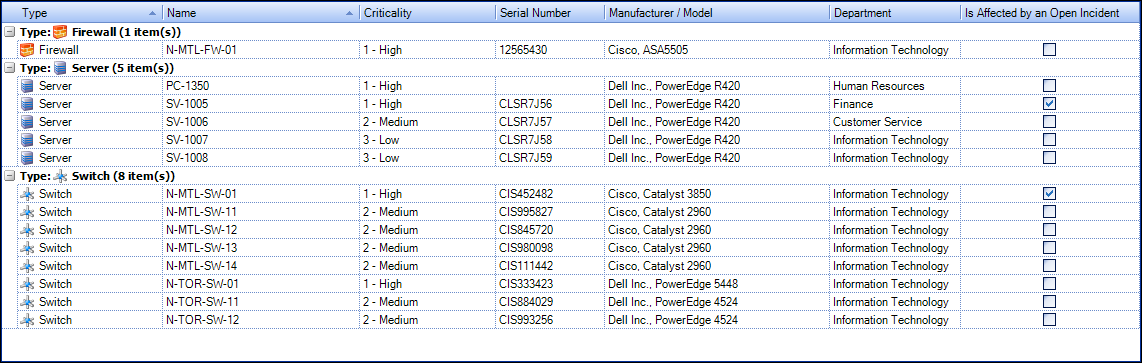
- Linked to CI
- Type
- Name
- Criticality
- Serial Number
- Manufacturer / Model
- Department
- Is affected by an Open Incident
Step 3: Print or Export Data
You have 3 options:
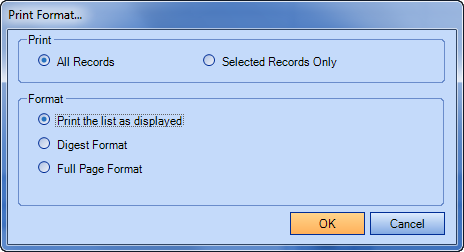
Option 1: Use a Predefined Print Format
- Once you have the list of records on screen, press CTRL+P to get to the "Print Format" window
- Select the print format and press OK to print.
Option 2: Create a Custom Layout and Print
- Once you have the result of your advanced search on your screen, customize the appearance:
- You can add fields that are not shown by default. To do so, right-click on the header of any column and click Select a column. In the Select Column window, click the checkbox of the fields to add them to the results list
- You can remove fields that you do not need by dragging them outside of the list area
- You can drag & drop columns to move the columns
- You can click on column header to change the sort order
- When you are satisfied with the results, do CTRL+P and select the Print the list as displayed option
Option 3: Export to Excel
Arrange the layout as explained in Option 2 (above) and right click to open in Excel. See this article for more information.
Step 4: Save the Report as a List
It is possible to save your advanced search as well as the layout in a list that can be reused, see the List Customization wiki.
Thank you, your message has been sent.